PBJ Cookies
PBJ cookies are here! Perfectly soft peanut butter thumbprint cookies cradling a sweet dollop of strawberry jam are as cute as they are tasty.
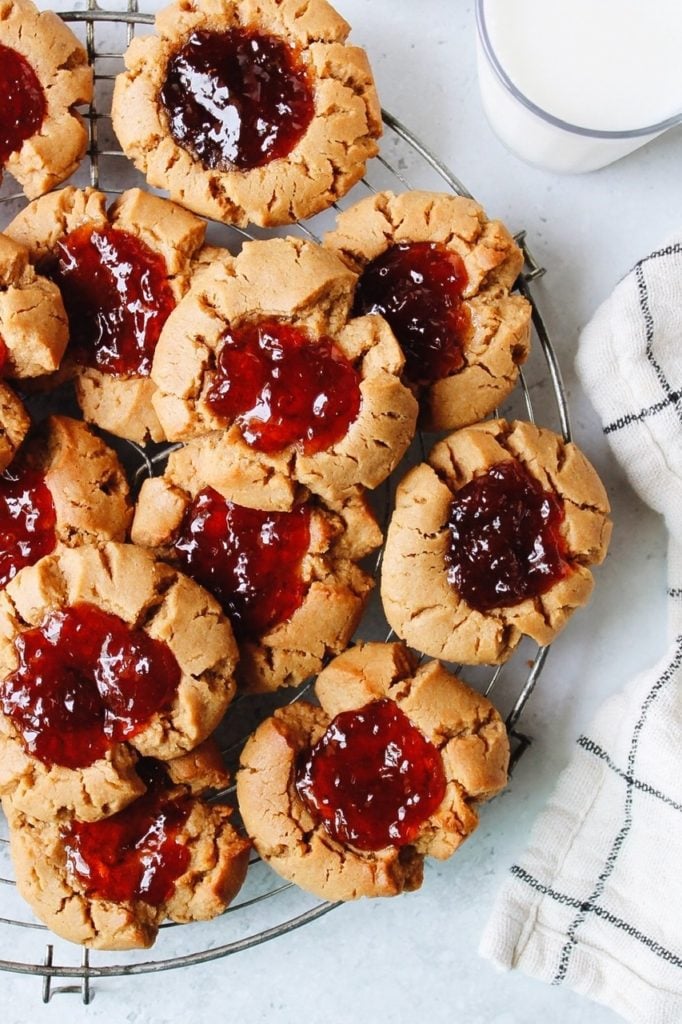
Back to school season is upon us and I don’t think there is any other flavor combo that says back-to-school quite like peanut butter and jelly does. Make these to brighten up lunch boxes or up your after-school snack game. These cookies are so easy to make, require just one bowl and a few simple ingredients you probably already have on hand.
Disclaimer: this post may contain affiliate links, which means if you decide to purchase any of the items linked in this post, I should earn a small commission. This creates no additional cost to you and helps support the work that goes into running The Fig Jar. Thank you! -Becky
Ingredients
PBJ Cookies
- Peanut butter
- Brown and white sugar
- Eggs
- Vanilla
- All-purpose flour
- Baking soda
- Salt
- Strawberry jam or your favorite jam for PB&J sandwiches
What kind of peanut butter is best for making PBJ Cookies?
I use creamy JIF peanut butter for most of my baking needs. The brand doesn’t matter so much, just use a more traditional, processed type of peanut butter when making these cookies or I can’t guarantee you will get the results you want. The types of peanut butter that are just essentially ground peanuts are wonderful and delicious but they don’t work as well for baking.
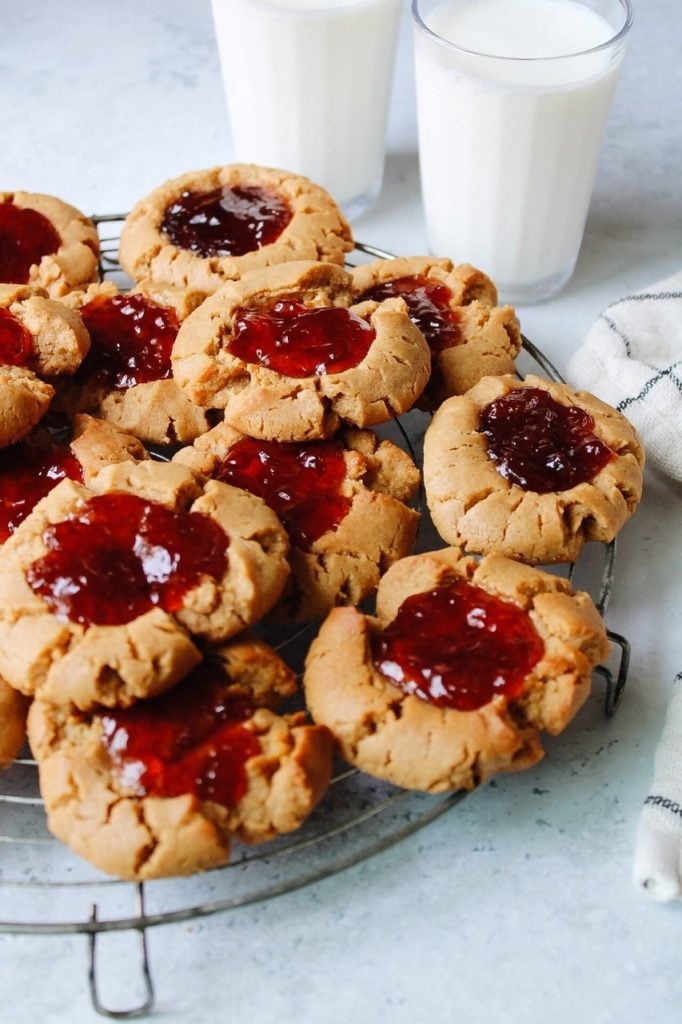
How to make PBJ Cookies
The best peanut butter and jelly cookies start with the best peanut butter cookie recipe so how do we do it?
Everything just gets mixed in one bowl, which I love. First, you will need to mix the peanut butter, both sugars and the eggs until fully combined.
Then mix in the dry ingredients (flour, salt and baking soda) and you’re ready to roll! Literally, roll the dough into balls, I love using my cookie scoop (affiliate link) to ensure evenly-sized cookies.
Then use your thumb to make an indentation in the cookie for your jelly.
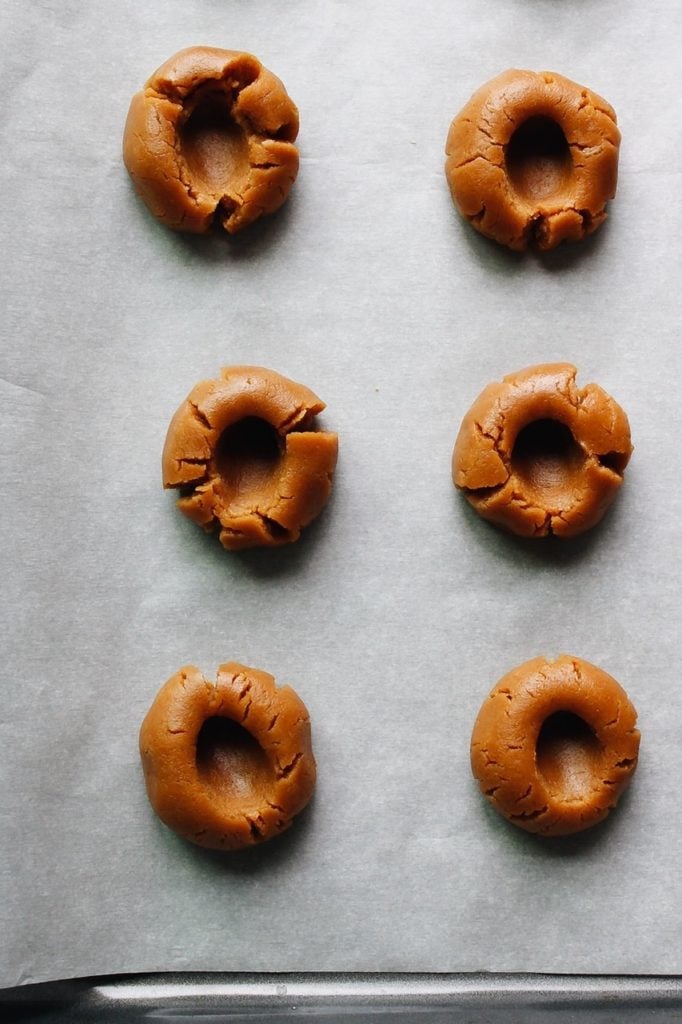
To add the jam before baking or to not add the jam before baking
So for years I made these cookies by adding the jam to the cookies prior to baking them. However, when you do it that way, you end up needing to add more jam after they bake because the cookies spread and the jam spreads and it just looks ugly. This also weakens the cookie and a lot of the cookies will break down the middle when you pick them up.
I had a revelation last year and realized I could just bake them and then add the jam. This means you only need to scoop and drop jam once. The only downside is the jelly doesn’t get cooked and I really like the flavor of the cooked jam. But I still very much prefer to add the jam post baking. Sturdier cookies and less work is a win win for me.
More peanut butter dessert recipes
TRIED THIS RECIPE?
If you try this recipe, please consider leaving a comment/rating below and let me know how it went. I’d love to hear from you! You can also connect with me on instagram and Pinterest.
PrintPeanut Butter and Jelly Thumbprint Cookies
Your favorite childhood sandwich turned into a cookie! Perfectly soft peanut butter cookies filled with strawberry jam. Pour yourself a glass of milk and get ready for some cookie magic.
- Prep Time: 40 minutes
- Cook Time: 15 minutes
- Total Time: 55 minutes
- Yield: 16 1x
- Category: Dessert, Snack
- Cuisine: American
Ingredients
- 2 cups creamy peanut butter
- 3/4 cup brown sugar
- 3/4 cup white sugar
- 2 eggs
- 1/2 tsp salt
- 2 tsp baking soda
- 1/2 cup all-purpose flour
- 1 cup strawberry jam
Instructions
- Preheat oven to 350F.
- Add peanut butter, both sugars and eggs to a bowl and stir until combined.
- Add flour, salt and baking soda and stir to combine.
- Using a cookie scoop for each cookie, roll dough in your hands for each to form a smooth ball. Make an impression in each cookie using your thumb.
- Bake for 15-17 minutes. Leave them on the cookie sheet for about five minutes after removing from the oven then transfer to a wire rack to cool.
- The cookies don't have to fully cool before adding the jam but you want them to cool for at least 30 minutes before adding jam to the thumbprint in each cookie.



Thanks for this recipe! Just made it and it was so good! Not sure how soft these are supposed to be, but my oven took about 15 minutes and they were a bit soft when I took them out.
Hi Laura! So glad you made these and liked them 🙂 They are pretty soft, which is how I like them. They are especially soft right after you take them out. You might want to let them cool a bit on the cookie sheet before transferring if you were experiencing any breakage.