Crispy Oat Flour Waffles (Gluten-Free Recipe)
Oat Flour Waffles made with just one flour–oat flour–and a few pantry staples. They’re hearty, healthy, great for meal prep, never-soggy waffles!
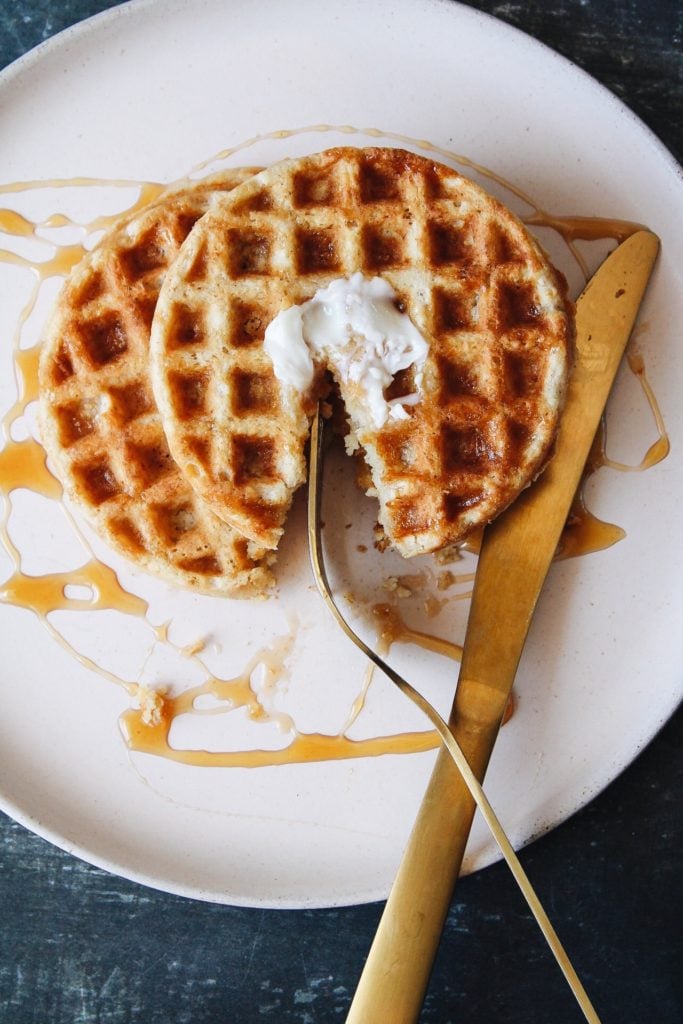
Though I am a big lover of savory breakfast items, waffles hold a special place in my heart. This recipe is completely gluten-free (when you use certified gluten-free oats) and it’s easy to make ahead and freeze the waffles for a quick weekday breakfast. This recipe also calls for cornstarch which gives you super crispy waffles. You can leave it out if you don’t have any. Now let’s make these irresistible, whole grain, just-so-happen-to-be gluten-free waffles, shall we?
Disclaimer: This post may contain affiliate links, which means if you decide to purchase any of the items linked in this post, I should earn a small commission. This creates no additional cost to you and helps support the work that goes into running The Fig Jar. Thank you! -Becky
Ingredients
Oat Flour Waffles
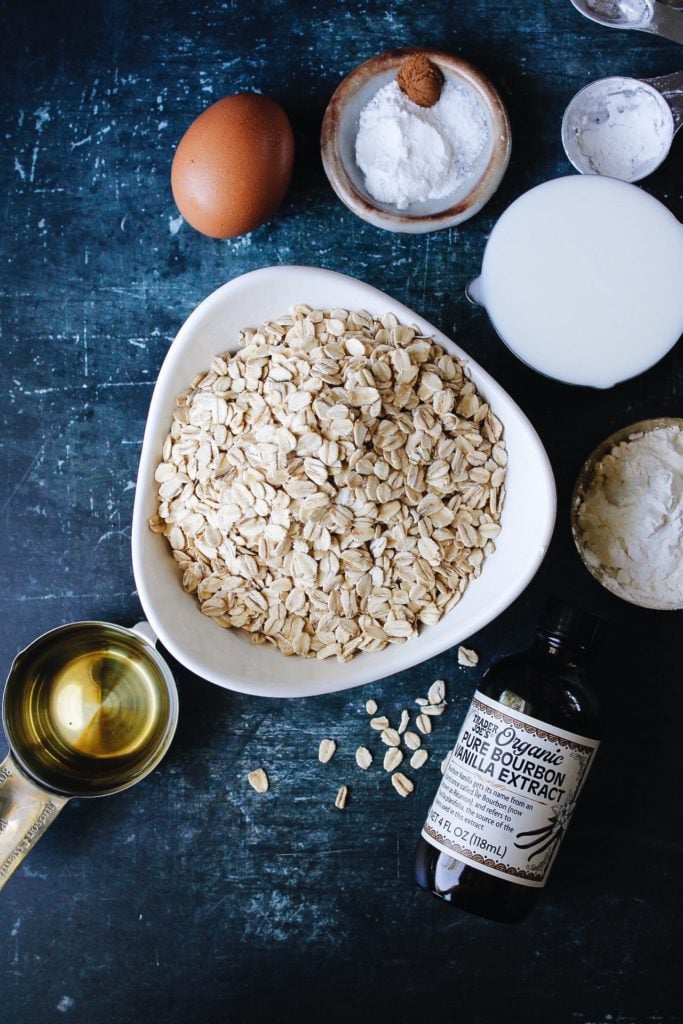
- Oat flour – If you don’t have oat flour, fear not! If you have plain, rolled oats in the cupboard you can make your own oat flour. Place oats in a blender or food processor and blend until it becomes a fine flour. Easy!
- Cornstarch – This can be skipped but it really helps the waffles to have a crispier exterior, so I definitely recommend it.
- Baking powder
- Salt
- Cinnamon (optional)
- Eggs
- Oil – I use canola or coconut oil.
- Vanilla extract
- Milk of your choice – Use room temperature milk for best results! I use cow’s milk, but you can also use almond milk, coconut milk, or any other non-dairy milk
- Vinegar
How to make waffles with oat flour
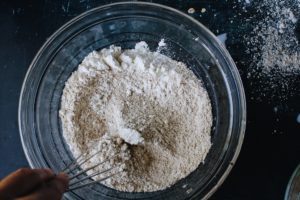
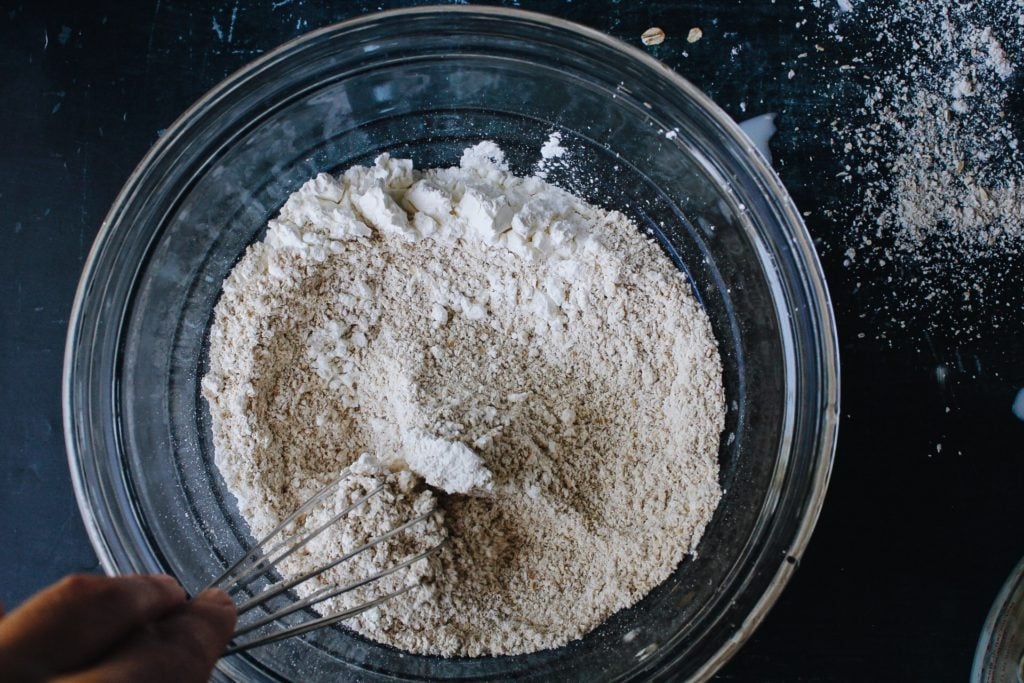
In a large bowl, combine the dry ingredients: oat flour, salt, baking powder and cinnamon with a whisk.
In a separate bowl, whisk together the wet ingredients – eggs, milk, vinegar, vanilla, and oil – until combined.
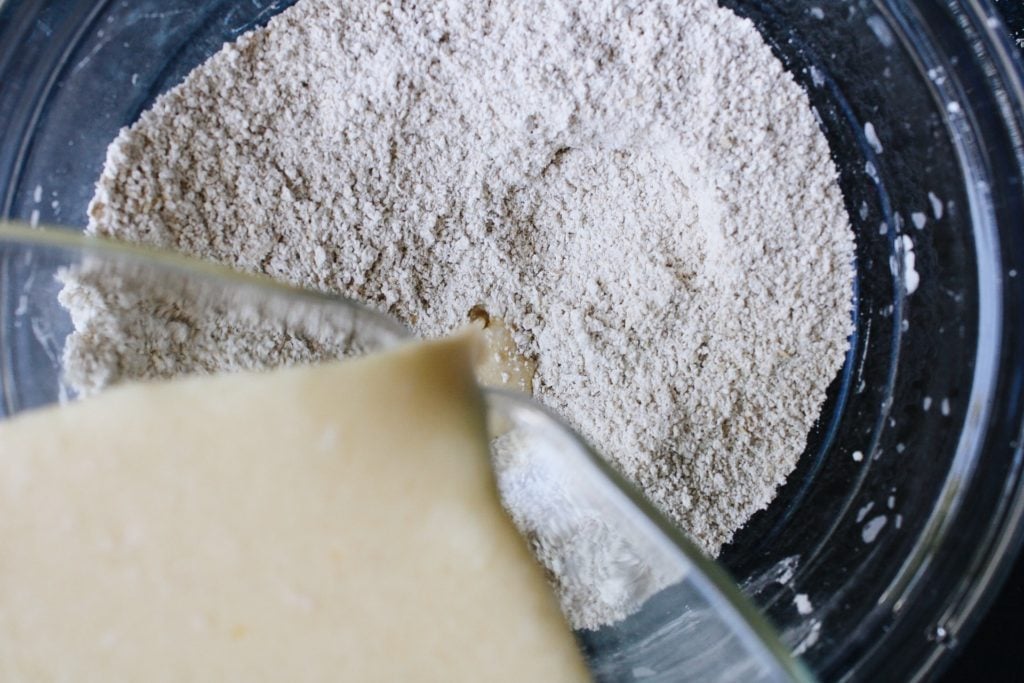
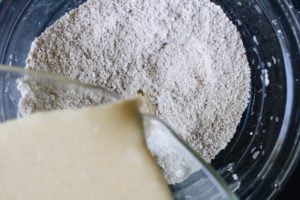
Add the wet ingredient mixture to the dry mixture and whisk until combined. Fun fact: you don’t have to worry about over-mixing gluten-free batters! Let your batter rest for about 10 minutes before cooking the waffles.
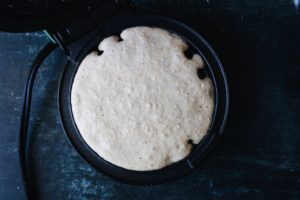
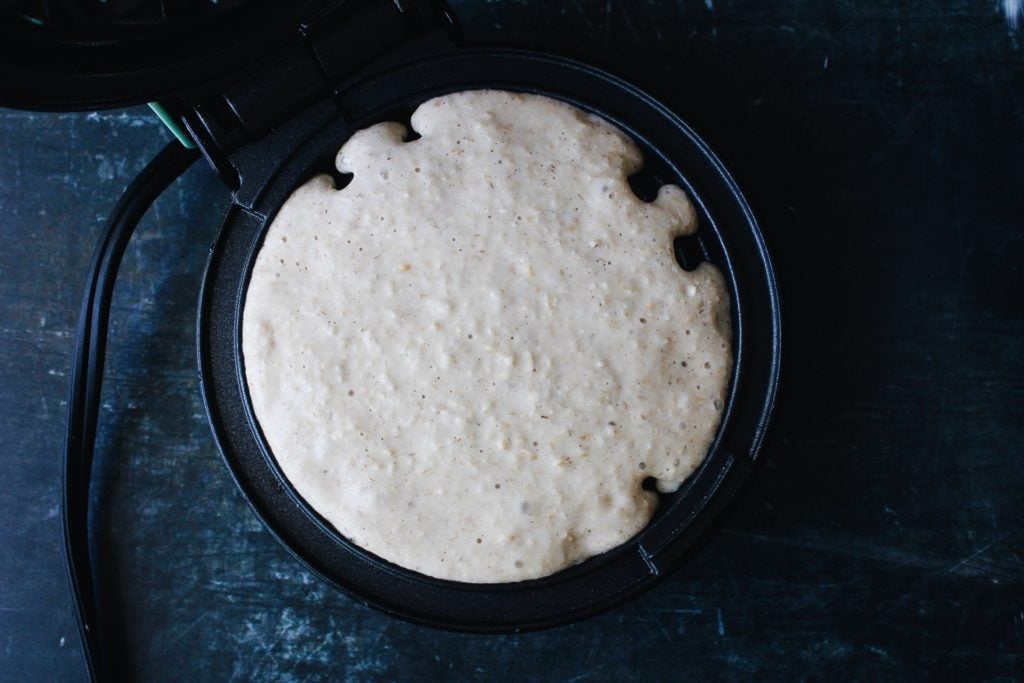
Heat your waffle iron, then pour batter onto it. I always use this mini waffle maker (affiliate link) I got from Amazon. It’s small and gets the job done. It will give you a waffle that is about the size of a standard frozen waffle you buy at the grocery store. The only downside is you can only make one waffle at a time. But I love it for its compact nature, affordability and simplicity. Just plug it in, let it heat up and you’re good to go. Plus it makes a great gift!
For a mini waffle maker, a tiny bit of waffle batter is all you need – a scant 1/4 cup is the perfect amount per waffle. Each waffle will take 3-4 minutes to get perfectly golden brown, crispy edges. Otherwise, cook according to instructions for your waffle maker.
To keep the waffles warm while cooking, heat your oven to 200°F and arrange the waffles in an even layer on a rimmed baking sheet until ready to serve.
I almost never make these the day I plan to eat them. I’m a little too impatient at breakfast time to get through making a whole batch of waffles before eating. So I will typically make these on Saturday or Sunday afternoon and freeze them so I can enjoy a quick breakfast during the week.
Freezing Waffles
To freeze these waffles, place them on a wire rack after they are finished cooking. Allow them to cool to room temperature before placing them in a plastic freezer bag or airtight container and popping them in the freezer. Store in the freezer for up to 6 months.
Reheating Waffles
To reheat, just place waffles in the toaster or toaster oven and cook until heated through.
If you plan on serving these waffles the day you make them, heat your oven to 200°F and place waffles on a baking sheet in the oven to keep waffles warm while you cook.
What to eat with Oat Flour Waffles
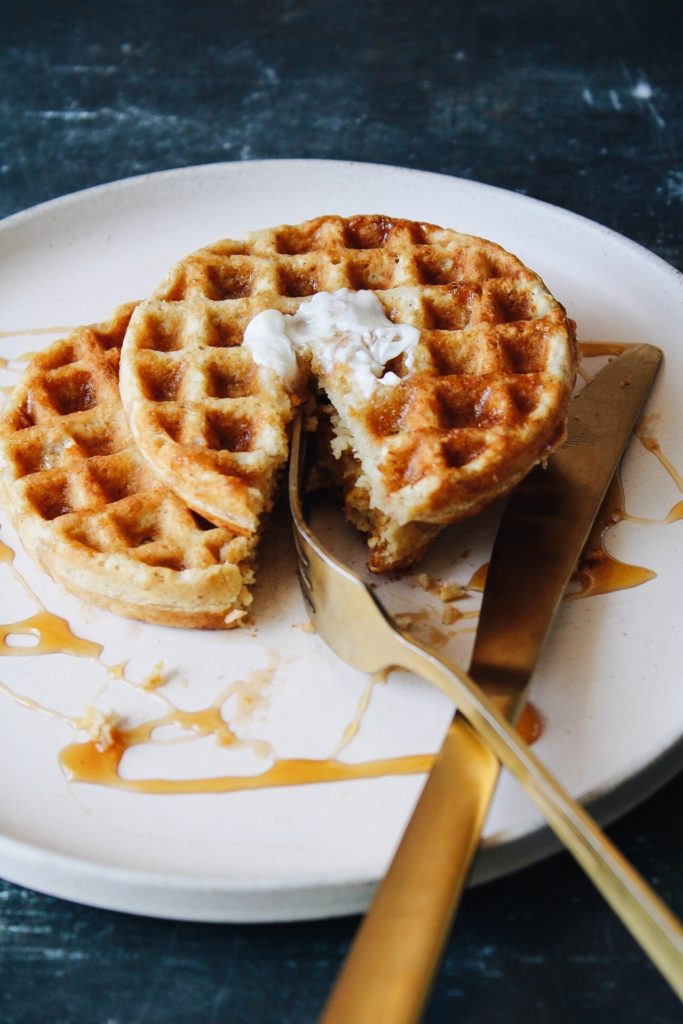
I love topping these waffles with fresh fruit – strawberries and blueberries, to be specific -, a drizzle of maple syrup, and if I’m feeling it, a dusting of powdered sugar. Sometimes I even go crazy and throw a spoonful of organic milled flax seeds on top of my waffles. My husband loves to spread peanut butter on his waffles before adding syrup. Whatever your favorite toppings for other waffles are the right toppings for these as well!
Tried this recipe?
If you try this recipe, please leave a star rating below and let me know how it went. I’d love to hear from you!
You can also find me on Pinterest!
More breakfast recipes
PrintOat Flour Waffles
Delicious gluten-free waffles made with just one type of flour – oat flour! They are hearty, healthy and so so good.
- Prep Time: 15 minutes
- Total Time: 15 minutes
- Yield: 10 small waffles 1x
- Category: Breakfast
- Cuisine: American
Ingredients
- 2 eggs
- 3/4 cup milk
- 1/3 cup coconut or canola oil
- 2 tbsp apple cider vinegar
- 1 tsp vanilla
- 1 3/4 cup oat flour
- 4 tbsp cornstarch
- 2 tsp baking powder
- 2 tbsp sugar
- 3/4 tsp salt
- 1/2 tsp cinnamon (optional)
Instructions
- In a bowl, whisk together eggs, milk, oil, vinegar and vanilla.
- In a separate bowl, combine oat flour, cornstarch, sugar, salt, baking powder and cinnamon.
- Add the wet ingredients to the dry and whisk until fully combined. Allow the batter to rest for about 10 minutes before cooking the waffles.
- Heat waffle iron, then pour batter onto it. For the mini waffle maker that I use, a scant 1/4 cup is the perfect amount of batter per waffle and 3-4 minutes is the cook time. Otherwise cook according to instructions for your waffle maker.
- To keep waffles warm while cooking, heat oven to 200 and arrange waffles in an even layer on a rimmed baking sheet until ready to serve.
- To freeze, allow waffles to cool fully on a cooling rack, then place in a Ziploc freezer bag or freezer-safe container and freeze for up to 6 months. To reheat, pop waffles in the toaster until heated through.
Notes
Make your own oat flour: place whole oats in a blender or food processor until oats are ground to a fine flour consistency.

