Mango Cream Frozen Tart (No-bake, DF)
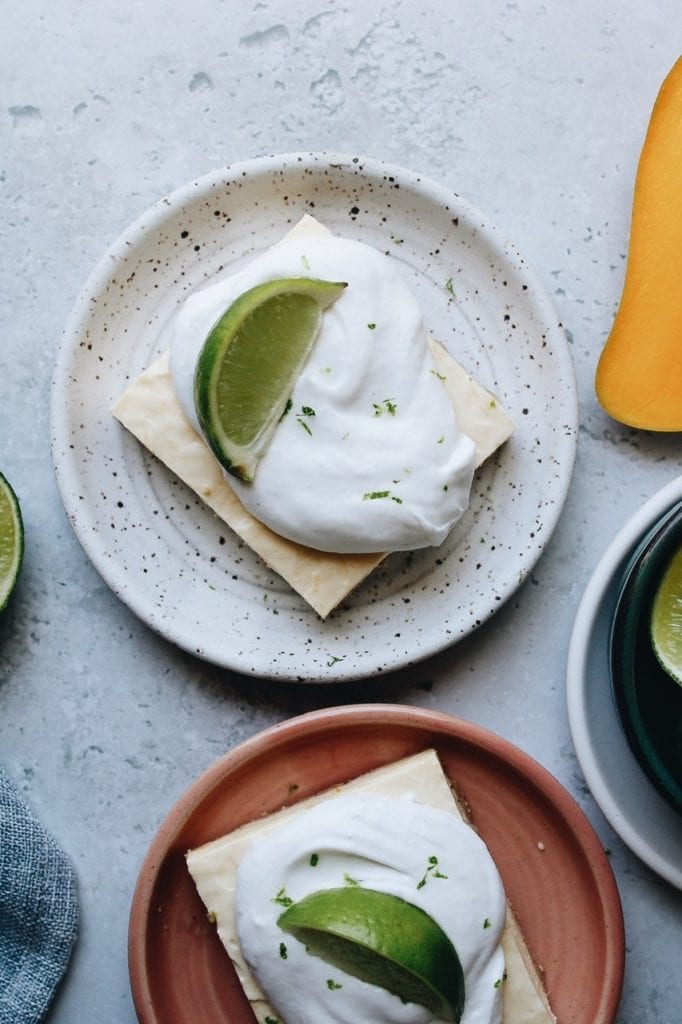
This frozen tart is made with frozen mango chunks, graham crackers, coconut milk and lime… that’s basically it. It’s summery, fresh, delicious and completely dairy free.
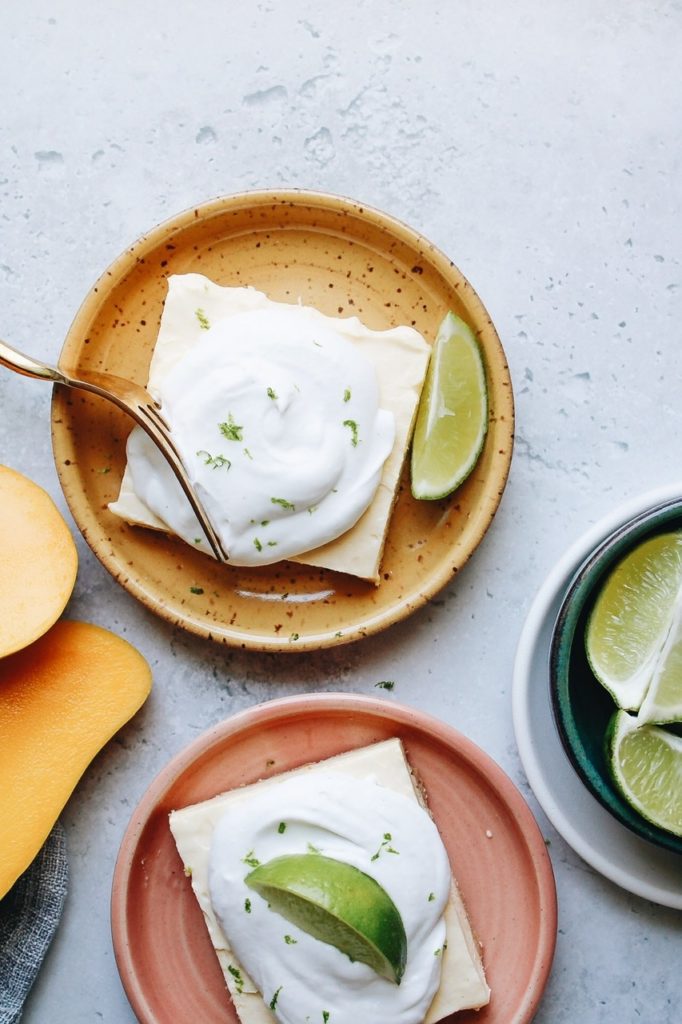
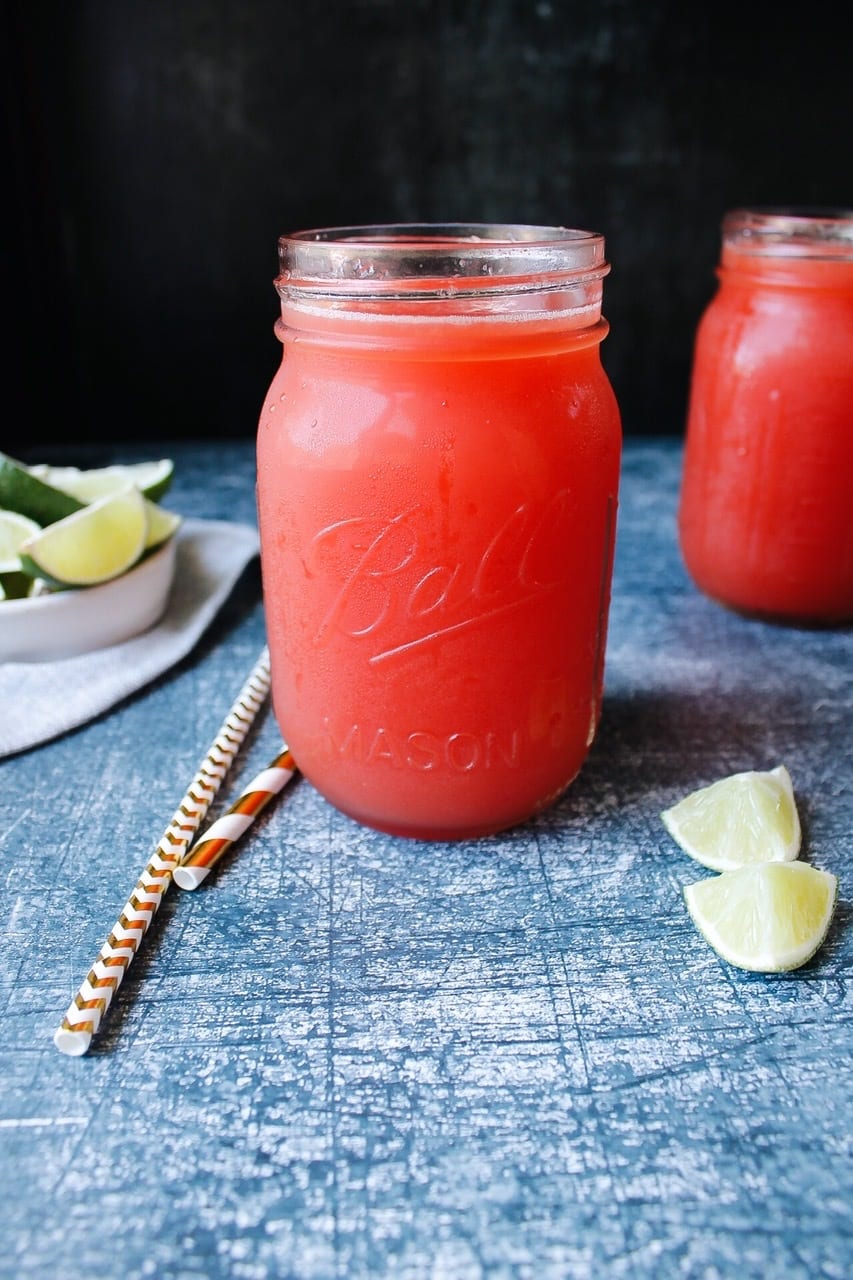
For the last month I have been brainstorming no-bake dessert ideas. My oven and I are going to be seeing a lot less of each other very soon and I want to be ready. Let me tell you: with this mango tart alone I feel ready and I already have my watermelon mint popsicles which are also summer dessert perfection but this. It’s tropical, feels rich, but also light and refreshing at the same time. It’s classy and impressive but so stinkin easy to make. AND its completely dairy-free!
Ingredients
- Graham crackers
- Canned coconut milk
- Powdered sugar
- Frozen mango
- Limes
- Coconut oil
How to make this tart
The crust
- One sleeve of graham crackers
- 1/4 cup of coconut oil
That’s it. Pulse the graham crackers in a blender until you have a fine crumb. Mix with melted coconut oil until moistened and press it into your tart pan. I like to just mix the graham cracker crumbs and coconut oil right in the tart pan to save a dish.
Mango filling
To make the mango filling, just purée the thawed, frozen mango, then mix with coconut cream and powdered sugar.
A note about the coconut cream: you will want to get canned coconut milk and place in the fridge the night before you plan to make this. Once it’s time to make the filling, open the can and scrape the top layer of cream off and just use this part. Leave the thin liquid in the can and reserve for use in smoothies.

It’s not necessary to whip the coconut cream a whole lot for the filling, just enough to get a smooth, creamy consistency. Then fold in the mango purée, lime juice and powdered sugar. However, this recipe calls for two cans of coconut milk—the second can you will want to whip a bit more because this will be used for topping and you want it on the thick side.
How to make coconut whipped cream
All brands are not created equal
It’s so easy to make coconut whipped cream! I learned from minimalist baker, who has a great guide on which brands are best for making coconut whipped cream. They are definitely not all created equal and I can testify to this. I have used the Trader Joe’s coconut cream and 365 brand and agree with her assessment wholeheartedly.
One brand she does not list is the new brand from Target, probably because it didn’t exist at the time she wrote the article. Let me tell you, the Target brand coconut milk is AMAZING. SO creamy and there is SO much of the coconut cream. Way more than the 365 brand and TJs. I love it and only want to buy this brand moving forward. However it looks like they do not have it online anymore at the moment. The 365 brand is a great alternative though- purchase here.
Process for making coconut whipped cream
Look for the blue can in the photo below. That is the coconut milk. You can see the cream is thick and opaque, you need to place it in the fridge the night before in order for it to separate and become thick so you can scoop it out easily and leave the thin liquid behind.
So that is what you will do: simply scoop that layer of cream off, place it in a mixing bowl and beat with an electric mixer until creamy. I like to add powdered sugar but if you are wanting to reduce the sugar, you can leave it out.

Equipment needed
- Tart pan: while you don’t have to make this in a tart pan, I prefer it for the cute rippled edges and the ability to easily pop the whole tart out to cut and serve. This one is the same size as mine. I honestly don’t remember where mine came from but I measured mine and this is the only one I could find online with the same measurements.
- Blender or food processor: again, you could make this without both and in a lot of ways I am all for that. I don’t believe any fancy equipment is needed to make good food. But sometimes they make things a little quicker. I almost exclusively use my blendtec as it does pretty much everything a food processor can do. Which I have often, so it gets a great deal of use in my house. It’s powerful, easy to clean and sturdy.
- Electric mixer: I use my electric mixer to make coconut whipped cream for the topping and also to beat the coconut cream for the filling.
If you make this mango cream tart, lemme know! Leave a comment/rating below— I’d love to hear from you 🙂 You can also find me tag me on instagram @thefigjar. Enjoy!
PrintMango Cream Frozen Tart (No-Bake, Dairy-Free)
Tropical and light, this dessert is summer perfection.
- Prep Time: 30 minutes
- Total Time: 30 minutes
- Yield: 12 1x
- Category: Dessert
- Cuisine: American
Ingredients
- 1 sleeve graham crackers
- 2 13.5 oz cans coconut milk
- 1/2 cup powdered sugar (plus more if you want it in the whipped topping)
- 2 cups frozen mango (thawed)
- 1 lime (juice & zest) (plus more for serving is optional)
- 1/4 cup coconut oil (melted)
Instructions
- Place cans of coconut milk in the fridge the night before you plan to make this.
- Pulse graham crackers in a blender or food processor until fine. Or you can place them in a large ziploc and crush with a rolling pin. Dump the crumbs in your tart pan and pour melted coconut oil on top. Mix with your hands until graham crumbs are moistened.
- Press the graham cracker/oil mixture into an even layer to form a crust. Set aside.
- Purée mango in a blender until smooth.
- Remove the cream from the top of 1 can of coconut milk and place in a large bowl. Add 1/2 cup powdered sugar and juice from half the lime and beat with an electric mixer until creamy. Fold in puréed mango. Pour this mixture into the tart pan with graham cracker crust.
- Freeze for 6 hours or overnight.
When ready to serve
- Remove the tart from the freezer and allow to sit at room temperature for 30 minutes before serving.
- Remove the cream from second can of coconut milk, add juice from remaining half lime and the lime zest. Beat until creamy. Add up to 1/3 cup powdered sugar if desired.
- Serve tart topped with coconut cream, lime zest and a lime wedge.
- Enjoy!
Disclaimer: this post may contain affiliate links, which means if you decide to purchase any of the items linked in this post, I should earn a small commission. This creates no additional cost to you and helps support the work that goes into running The Fig Jar. Thank you! -Becky


