Earl Grey Scones with Vanilla Bean Glaze
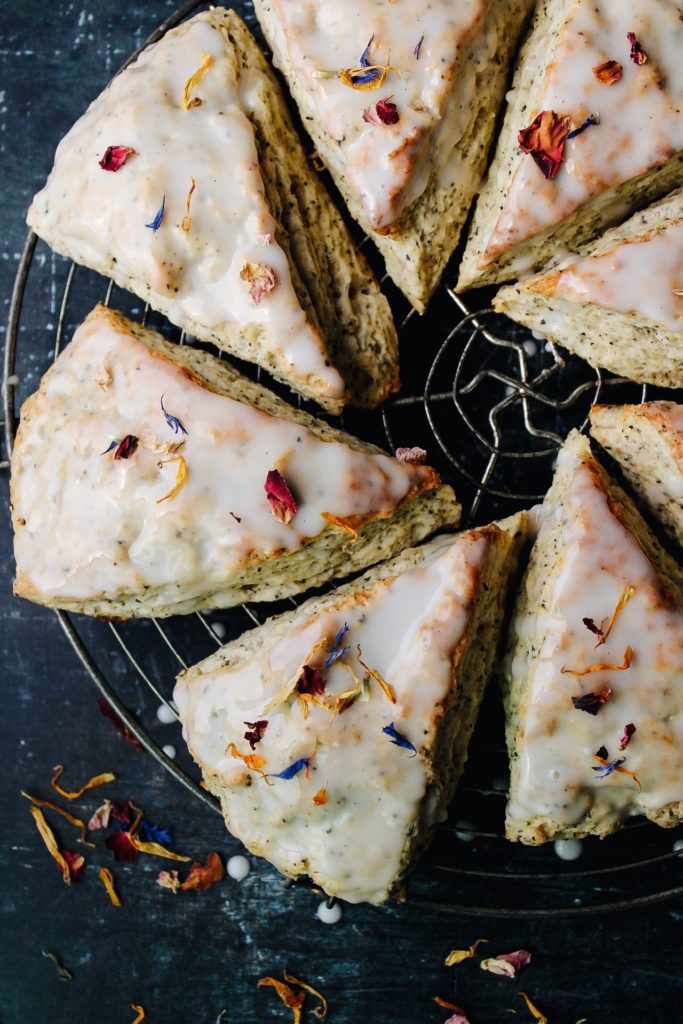
These Earl Grey Scones are tea lovers’ ultimate indulgence. Floral Earl Grey Tea is baked right into fluffy scones and then topped off with a sweet vanilla bean glaze. It’s like afternoon tea in scone form!

I just love scones. They are so simple to make and once you get a good basic recipe there is an endless possibility of flavor combinations (roasted kumquat scones, roasted strawberry buttermilk scones, just to name a few). These Earl Grey Scones are just the best. Not only are they brimming with one of my favorite flavors of black tea, but they have the best texture (dense but not too dry), and the vanilla icing is the perfect finish. Let’s make them!
Disclaimer: This post may contain affiliate links, which means if you decide to purchase any of the items linked in this post, I should earn a small commission. This creates no additional cost to you and helps support the work that goes into running The Fig Jar. Thank you! -Becky
Ingredients
EARL GREY SCONES
- Dry ingredients:
- all-purpose flour
- salt
- baking powder
- granulated sugar
- Earl Grey tea – Twinings Earl Grey tea bags work great for this. If using loose tea, you will need to pulse it beforehand in the blender or food processor.
- Wet ingredients – The key to making great scones is to use cold butter, sour cream, eggs and milk
- unsalted butter
- sour cream
- eggs
- milk
SCONE ICING
- Powdered sugar
- Milk
- Vanilla bean paste (affiliate link)
You don’t have to use vanilla bean paste but it is a very nice addition. You get vanilla flavor (which goes perfectly with earl grey) and real vanilla bean all throughout. It’s fine to sub in a splash of vanilla extract if you want.
I topped mine with edible flowers but this is very optional and doesn’t affect taste. These are the flowers I bought.
What makes a good scone?
Let’s face it, scones can sometimes be a bit unimpressive, they can be a bit dry or lack sweetness, etc. But when done right, scones can be an absolute delight to all. I think what makes a good scone is:
- Tender dough
- A good rise
- Great flavor
A dry, tough baked good of any kind is never enjoyable. Though scones are on the drier side of the baked good spectrum and they aren’t supposed to be like a doughnut or a piece of cake, a scone should still have a lightness and tenderness to it. My earl grey scone recipe calls for sour cream which is the secret to extra tender scones. Of course, butter also tenderizes the dough.
Who likes flat scones? Yeah, I didn’t think so. A good rise is crucial to preventing a flat, too-dense scone. So…
WHAT IS THE SECRET TO A GOOD SCONE?
1. Cold butter is key in making delicious scones! Make sure you use high-quality butter that doesn’t have that funky fridge smell or that will be all you taste.
2. Baking powder, of course, is a typical leavening agent and is called for in all of my scone recipes on this site. Baking powder reacts with other ingredients in the scone dough to create gas (carbon dioxide), this reaction makes the scone puff up.
3. And my third requisite for a good scone: flavor! Which should be a no-brainer I guess. I love adding mixins to scones. There are just so many options- cranberry, kumquats, matcha, chocolate, espresso powder… There are so many possible mix-in/icing flavor combos out there it’s hard for me to think about making a plain scone. BUT, you certainly can.
I mean, you really want to do this no matter if you are using mix-ins or not right?…
Let’s make these earl grey scones!
STEP 1:
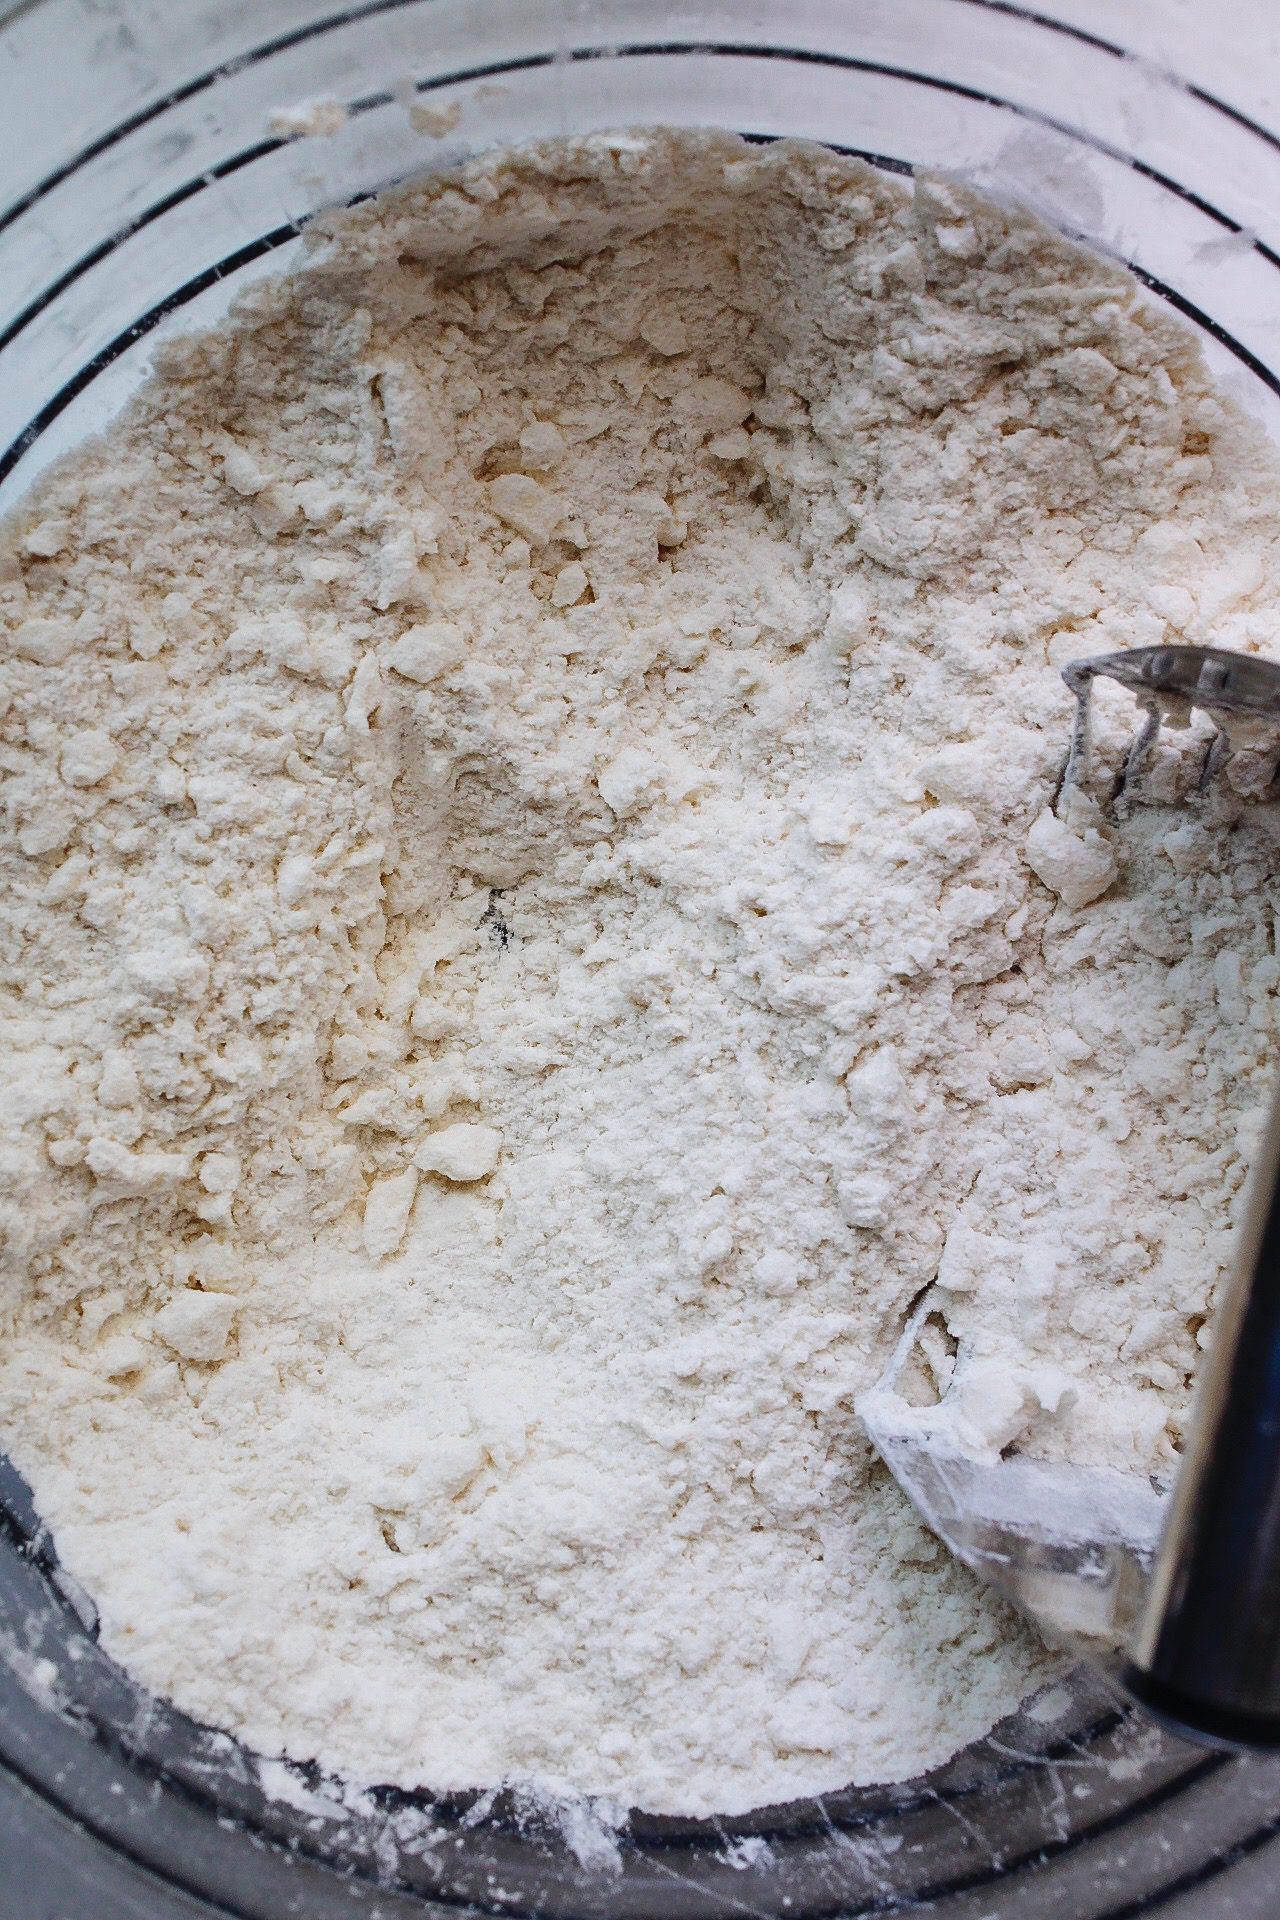
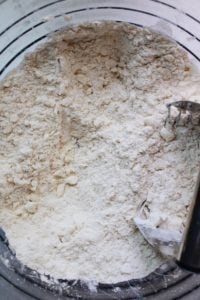
Start by preheating the oven to 400F. Then, combine the dry ingredients in a large bowl and add the butter. Use a pastry cutter (also known as a pastry blender) (affiliate link) to cut in the butter until pea-sized lumps form (photo #1 below).
STEP 2:
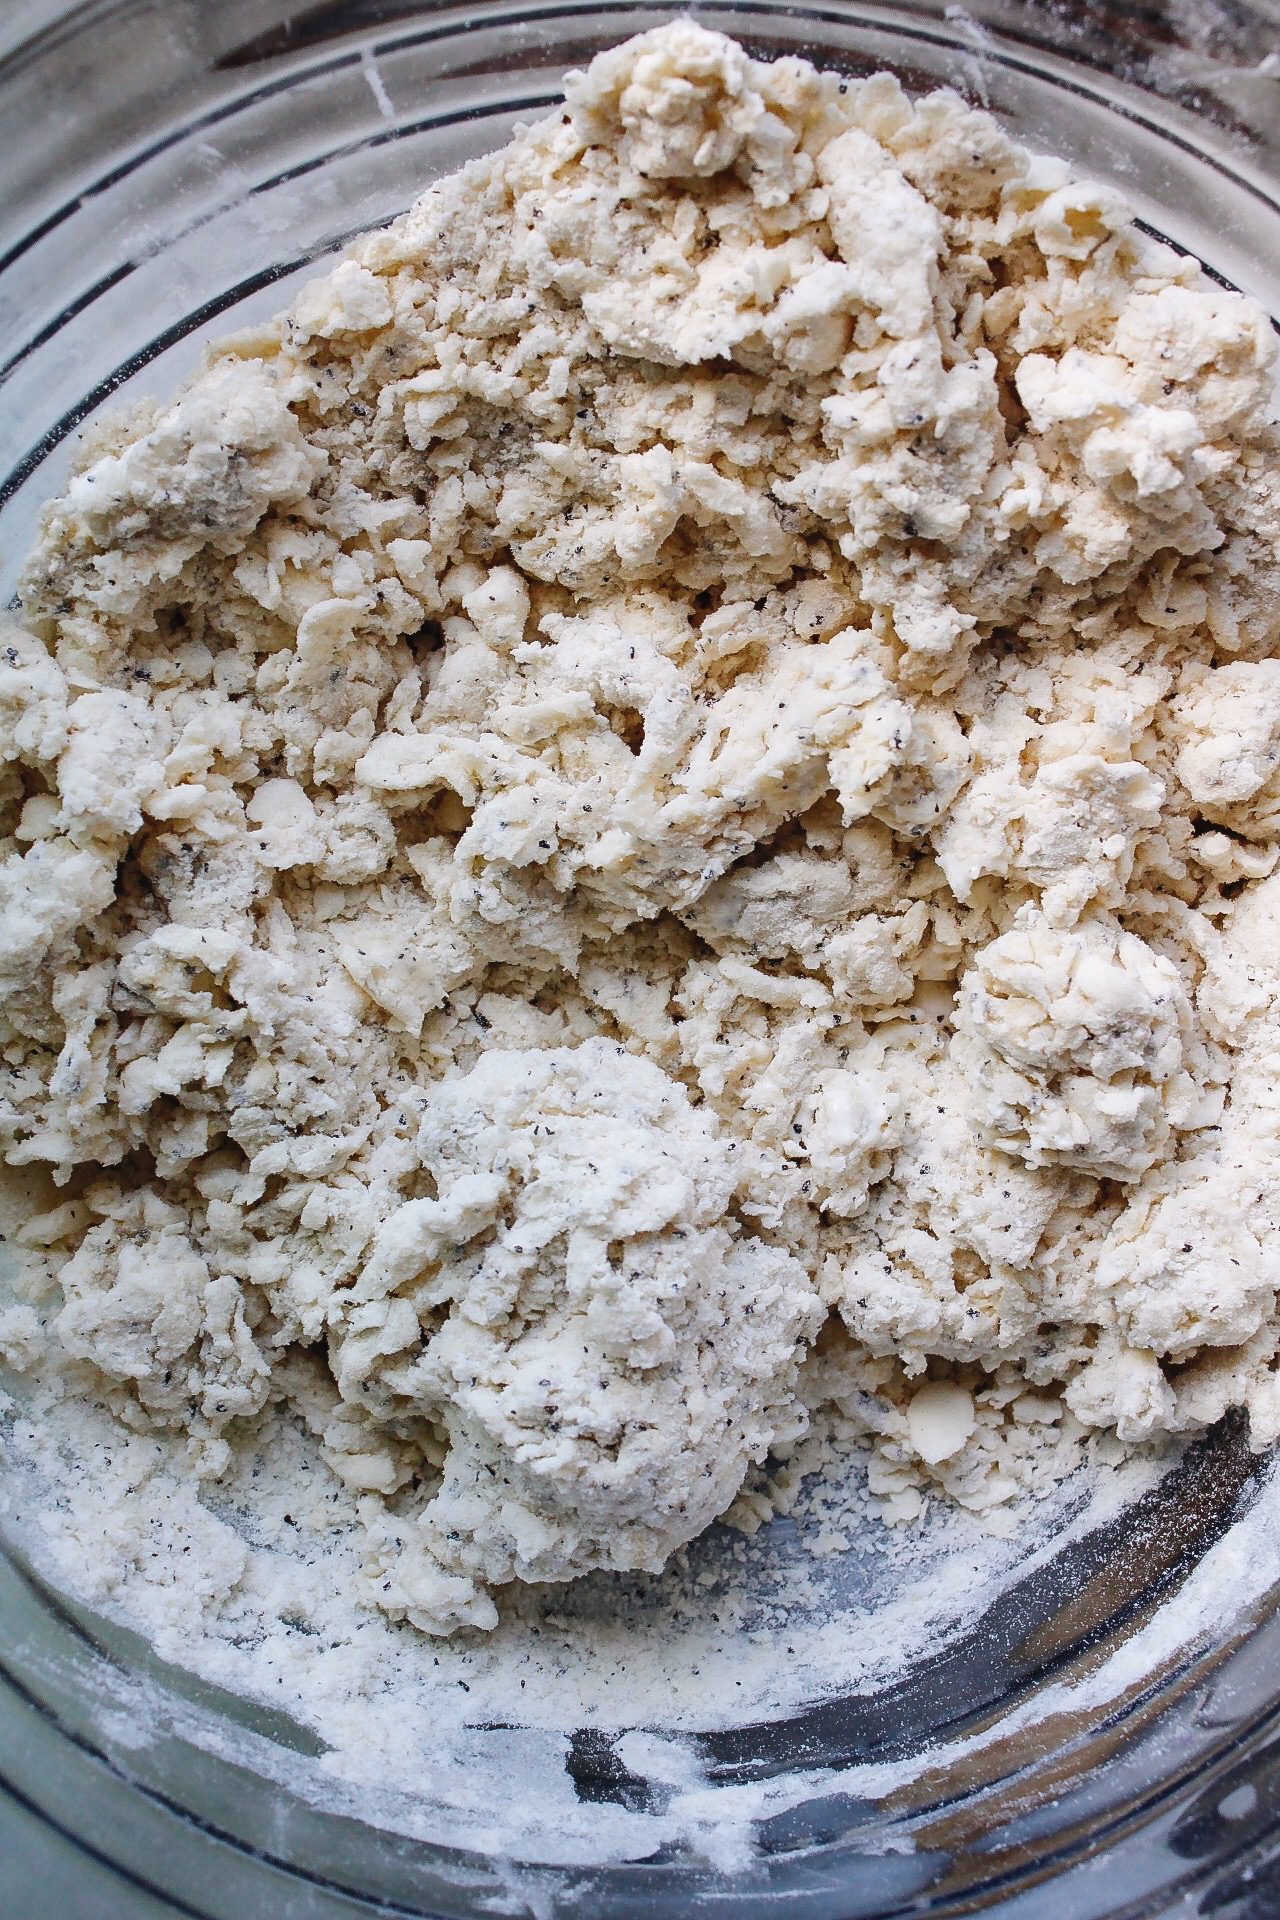
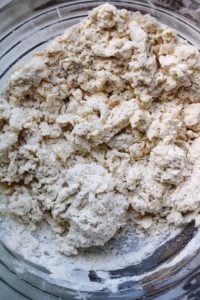
Next, add in the wet ingredients to the flour mixture and stir until a very shaggy dough begins to form (photo #2 below). Turn this out onto a floured work surface and knead until the dough comes together.
STEP 3:
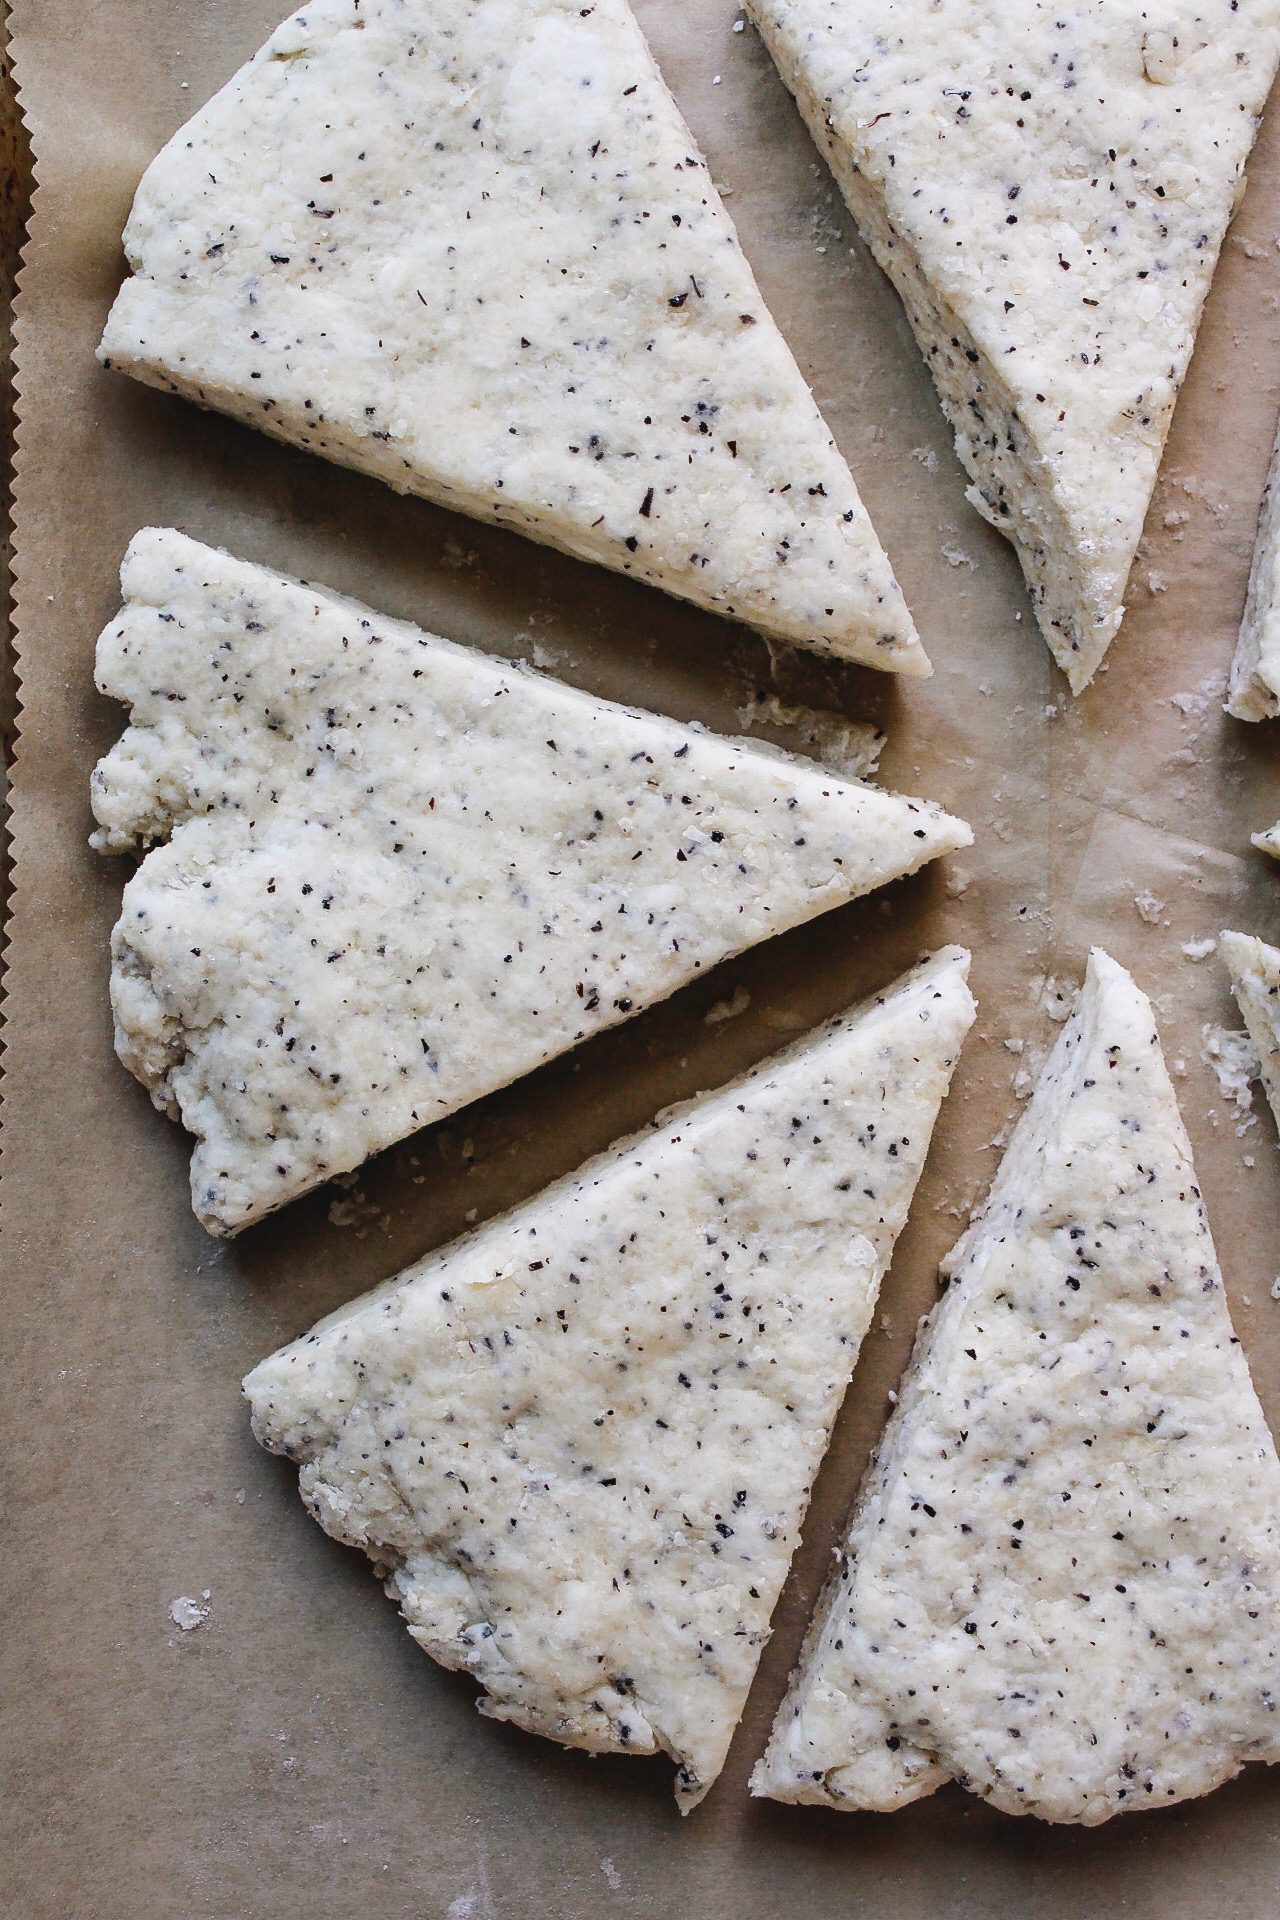
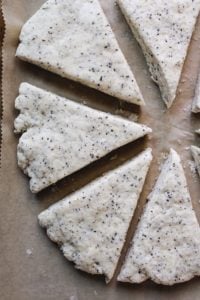
Once the dough comes together (you shouldn’t need to knead more than 10 times), shape it into a circle, cut it into eight pieces, and place it on a baking sheet lined with parchment paper (photo #3 below).
STEP 4:
Bake at 400F for 12-15 minutes, just until golden brown. Let them cool fully before icing them.
STEP 5:
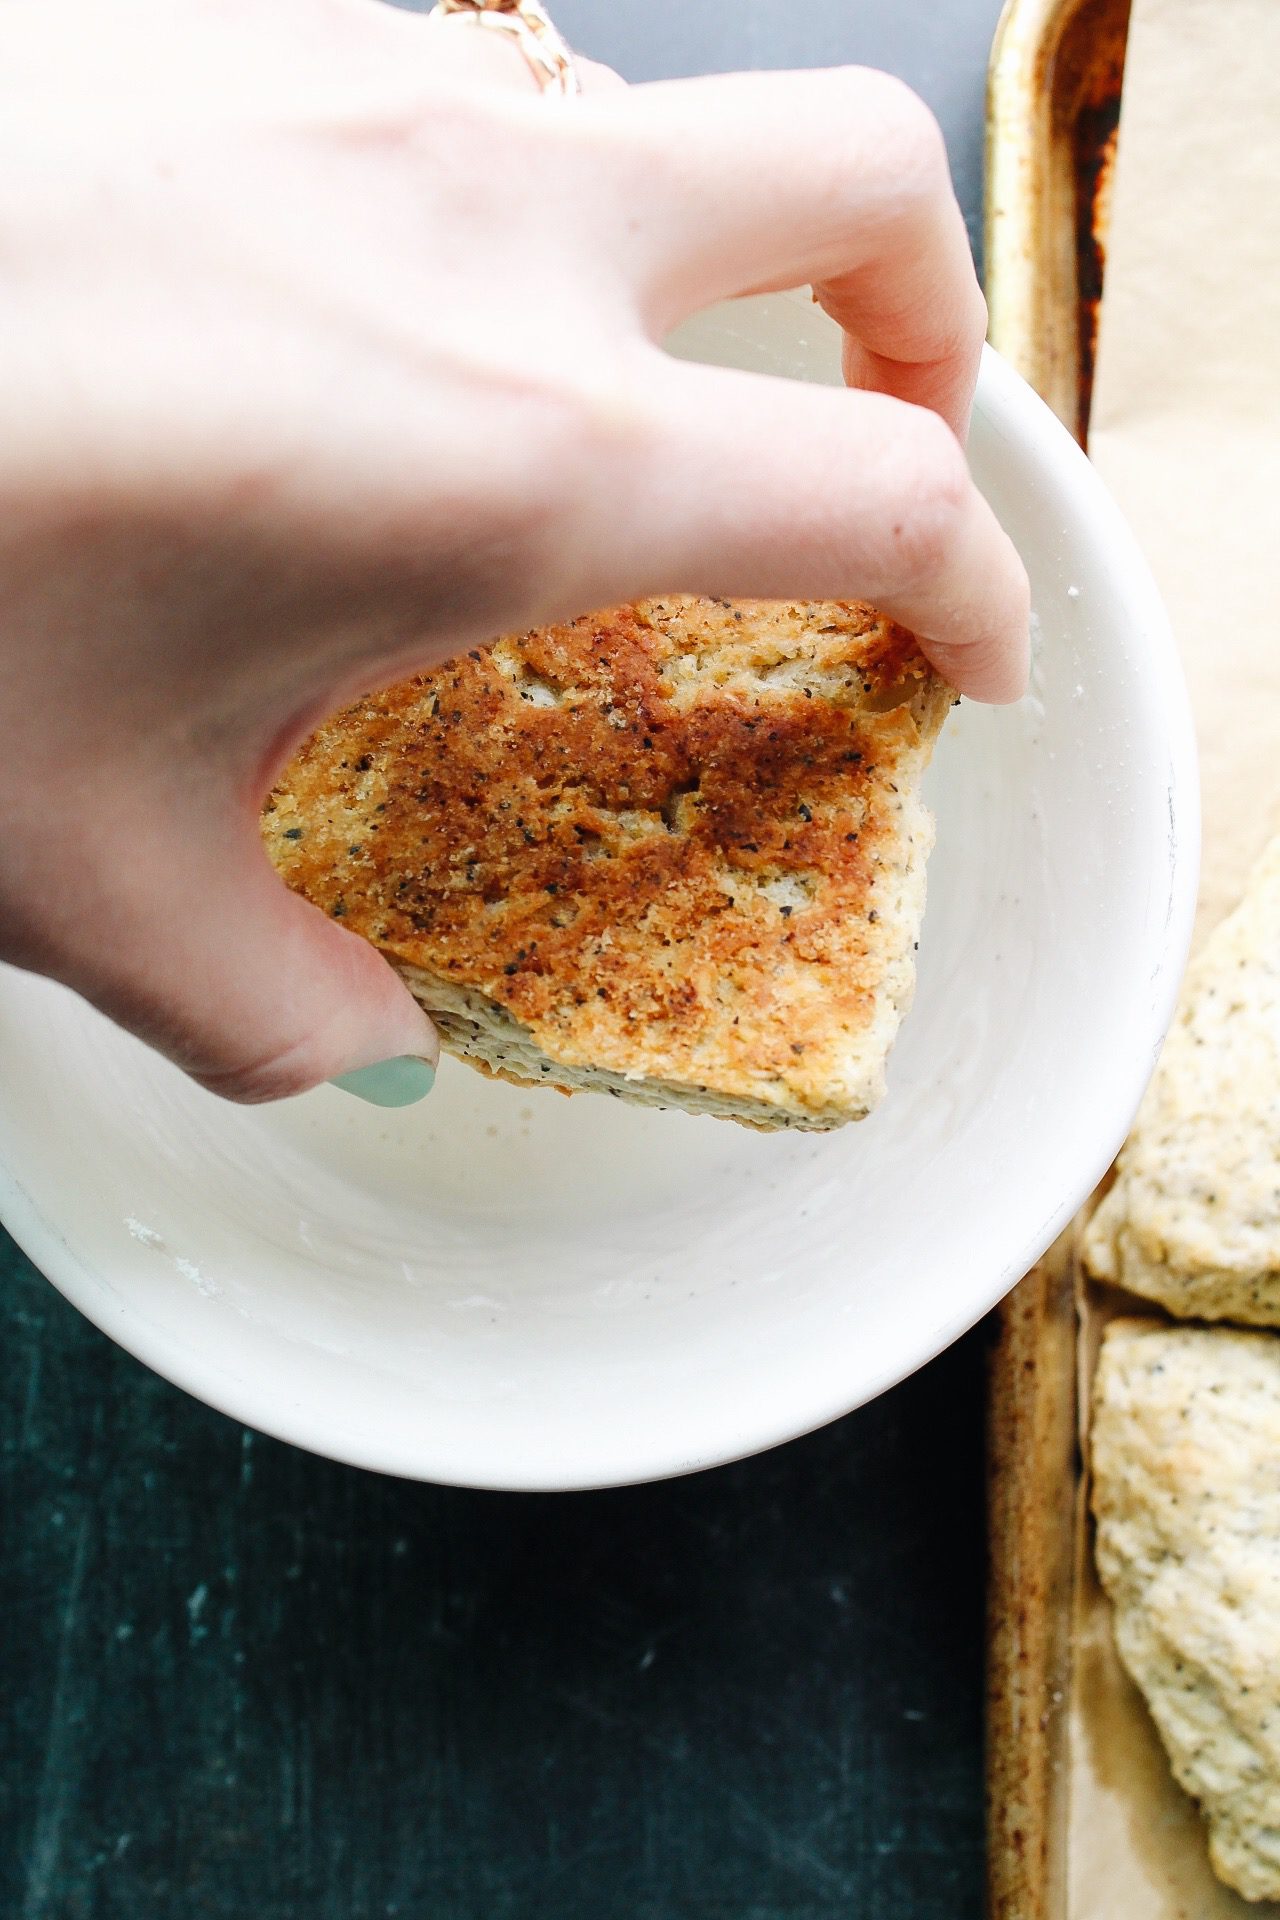
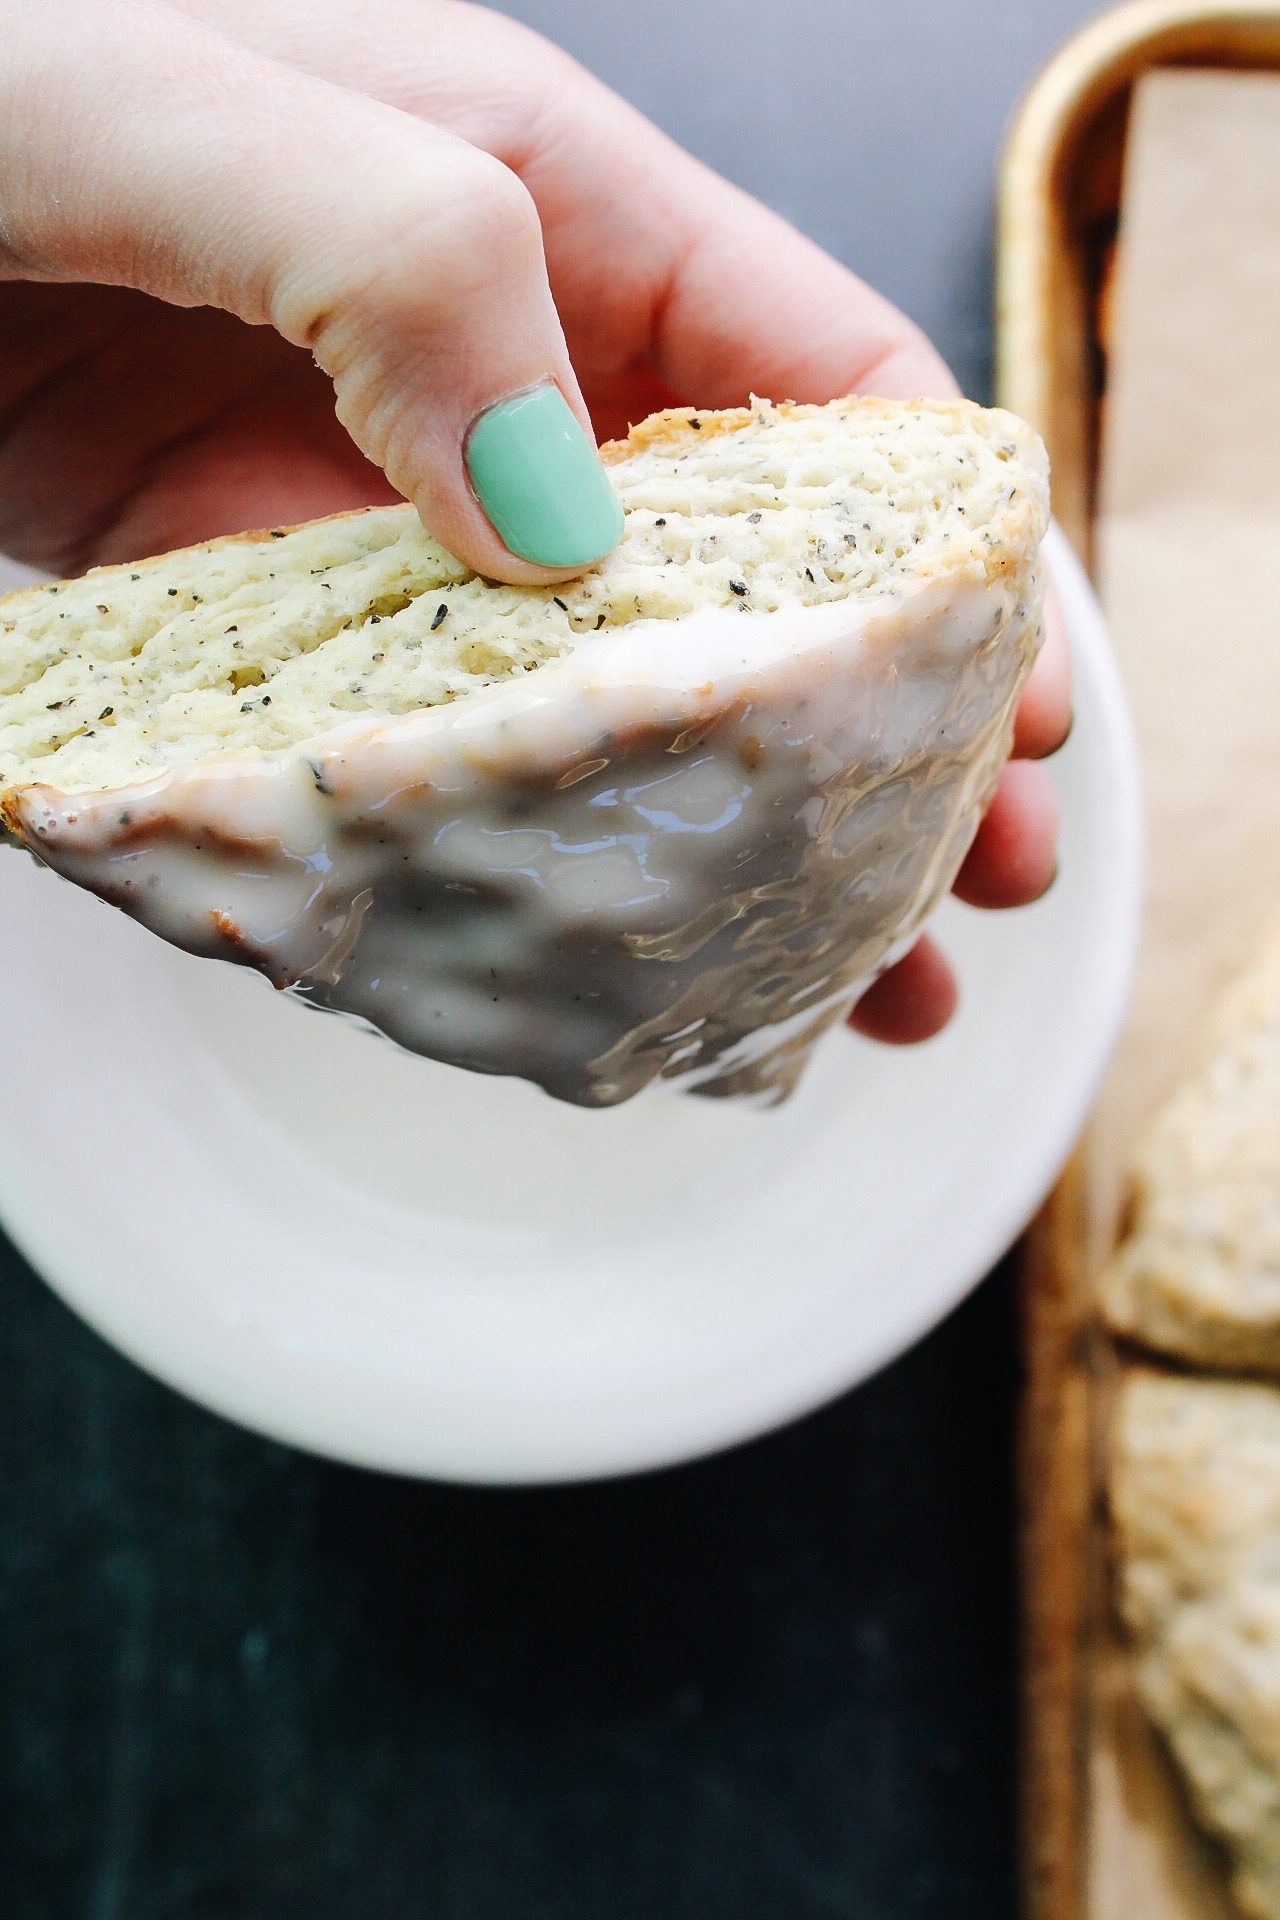
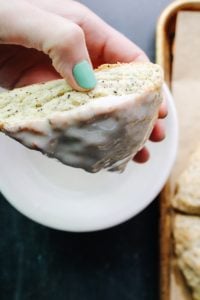
To ice the scones, you can either dip them straight into the icing, spread it on with a spoon or drizzle it. I went with the dipping method for this recipe. ?
Additions and substitutions
These scones taste great by themselves or with a cup of tea, but if you’re in less of a sweet mood, the icing can be omitted and you can eat them with butter, clotted cream or some fruit preserves. I think fig jam would be splendid with these scones! Or try them with a glass of whole milk – sort of an edible London Fog!
For a thicker, more spreadable icing, you can use less milk. You can also use heavy cream for an even richer icing; however, the icing will not set and can get smudged easily. It tastes great though! If you don’t have vanilla bean paste, you can just use the same amount of vanilla extract that is called for in this recipe.
Storage Instructions
Scones are best when eaten immediately. But if you’d like to prepare them for special occasions, they can also be made ahead of time and stored. For best results, first allow them to cool to room temperature. Wrap scones individually in plastic wrap then place scones in a freezer bag in the freezer for up to 3 months. They can be stored in an airtight container on the counter for up to 2 days or in the fridge for up to 3 days for the best freshness.
Made these earl grey scones?
If you try this recipe, please leave a star rating below and let me know how it went. I’d love to hear from you!
You can also connect with me on Instagram and Pinterest.
More scone recipes

Earl Grey Scones
These Earl Grey Scones are just heavenly. The dough is so tender, with earl grey tea baked right in. The vanilla bean glaze just makes these over-the-top good.
- Prep Time: 20 minutes
- Cook Time: 15 minutes
- Total Time: 35 minutes
- Yield: 8 scones 1x
- Category: Breakfast, Dessert, Snack
- Cuisine: American, English
Ingredients
Scones
- 1 3/4 cup all-purpose flour
- 1/2 tsp salt
- 3 tbsp granulated sugar
- 2 1/2 tsp baking powder
- 1 tbsp earl grey tea (ground if loose leaf)
- 6 tbsp unsalted butter (cold and cut into tbsp slices)
- 1/3 cup sour cream
- 1 egg beaten (plus 1 more egg for an egg wash, also beaten (egg wash is optional))
- 4 tbsp milk (2%)
Icing
- 2/3 cup powdered sugar
- 2 1/2 tbsp milk (2%, see notes)
- 1/2 tsp vanilla bean paste (see note)
Instructions
- Preheat oven to 400F.
- Add flour, granulated sugar, salt, baking powder and earl grey tea to a bowl and stir to combine. Add the butter and use a pastry blender to cut in the butter until pea-sized lumps form.
- Add one of the beaten eggs, milk and sour cream and stir until the mixture starts to form a dough with some crumbly bits.
- Turn the dough out onto a clean, floured work surface and knead until the dough comes together, about 10 times. Note: It is helpful if when you turn out the dough you place the dry, crumbly part of the mixture on top and just fold over to begin kneading those bit into the dough right away.
- Shape the dough into a 1/2 inch thick circle, cut into 8 slices and gently pull them apart from each other so the scones don’t stick together when they bake. Place the scones on a parchment-lined baking sheet. Use the other beaten egg to brush each scone with an even coat.
- Bake for 13-15 minutes, until the scones puff up and are starting to brown. Allow scones to cool before icing them.
Icing
- In a bowl, whisk powdered sugar and milk until smooth. The measurements for the icing should yield a thinner icing so you can dip each scone for an even coat on top.
Notes
For a thicker, more spreadable icing, you can use less milk. You can also use heavy cream for an even richer icing; however, the icing will not set and can get smudged easily. Tastes great though!
If you don’t have vanilla bean paste, you can just use the same amount of vanilla extract that is called for in the recipe.






Perfect earl grey scone recipe!
Thank you! So glad you enjoyed it, and thank you for taking the time to leave a review! 🙂
Such an amazing scones. I grated the butter which I found to be easier!