Cherry Scones with Dark Chocolate & Pistachios
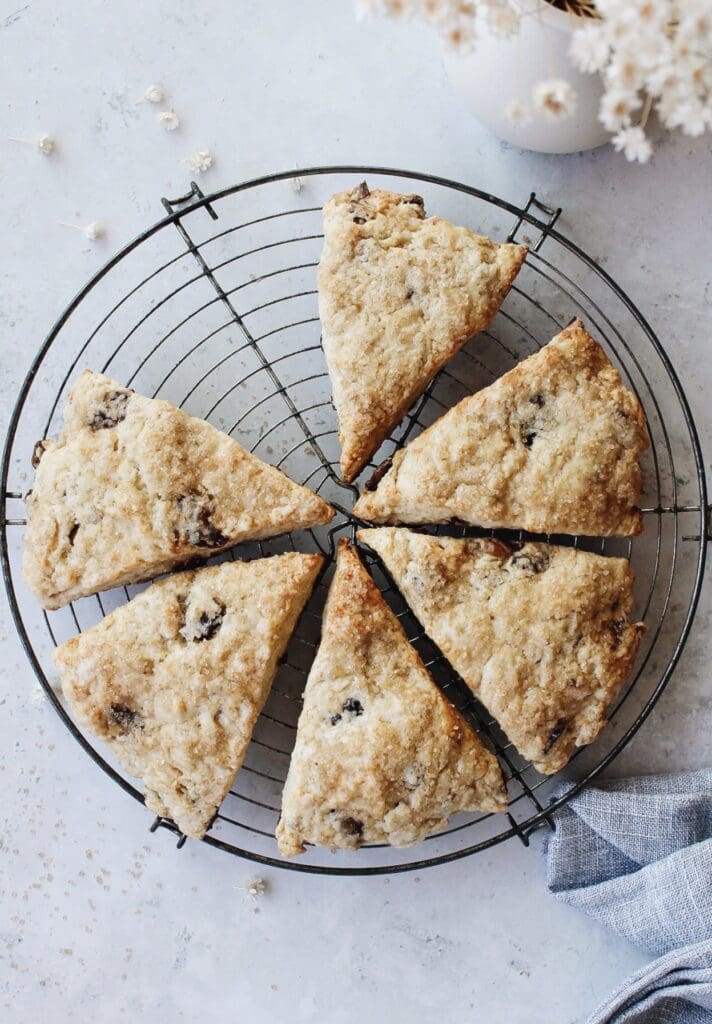
If you’re looking for the perfect cherry scones recipe, look no further than these tender cherry scones studded with dried tart cherries, dark chocolate chunks, and crunchy pistachios. It’s an easy recipe for any scone lover!

This is my go-to, tried-and-true scone recipe with a lovely combination of fruit, nuts and chocolate that is a perfect addition to breakfast, brunch or afternoon tea/coffee. I think scones are an underrated pastry. Sure, they are around, but they are easily forgotten amongst more flashy things like cinnamon rolls slathered with cream cheese frosting or flaky pastries filled with fruit and cream. I have no problem with those things, but I just think scones are great! They are super quick to make, they aren’t too sweet, they have simple ingredients, and there are a million ways to jazz them up. These delicious scones combine sour cherries, dark chocolate, and pistachios all wrapped up in a simple pastry. There is also a recipe included for an optional vanilla glaze if you want to add a touch more sweetness. Let’s make them!
Disclaimer: This post may contain affiliate links, which means if you decide to purchase any of the items linked in this post, I should earn a small commission. This creates no additional cost to you and helps support the work that goes into running The Fig Jar. Thank you! -Becky
Ingredients

Cherry Scones
- all-purpose flour
- baking powder
- salt
- sugar
- cold unsalted butter
- milk
- eggs – 1 for the scone dough and 1 for an optional egg wash
- sour cream
- tart dried cherries – Dried Montgomery cherries work great! This recipe works best with dried cherries. If you’re looking for a recipe that uses fresh cherries, orange zest, and lemon zest, try this one.
- dark chocolate – you can use chocolate chips or chop up your favorite dark chocolate bar into small pieces
- roasted + salted pistachios
For the optional vanilla glaze, you will need
If you like more sweetness from your scone, add this lovely vanilla bean glaze! To make it, you will need:
- powdered sugar
- milk
- vanilla extract
- vanilla bean pods – you will actually only need one pod, so if you want to buy just enough for this recipe, just get one. However, it is really nice to have them on hand for things like vanilla bean syrup 🙂
How to make these scones
Combine the dry ingredients in a large bowl. Use a fork to thoroughly mix flour, baking powder, salt and sugar.


Add the cold butter (cut into slices/cubes) and use a pastry blender (pastry cutter) to work the butter into the flour until coarse crumbs the size of peas form.


Next, add the wet ingredients. In a large measuring cup or small mixing bowl, whisk together the egg, sour cream and milk, then add to the mixing bowl with the dry ingredients.


Use a fork or a dough whisk to gently stir until the flour mixture becomes more dough-like but still crumbly. If it seems too dry, you can add up to 2 tbsp more milk.


Turn the dough out onto a lightly floured surface, trying to keep the driest/crumbliest bits on top. Press down on the mound and in around the edges.
Knead the dough until it becomes a cohesive mass of dough and is relatively smooth. Press into a rectangle about 1/2 inch thick and about 10 x 7 inches. Cut into 6 squares and arrange on a baking tray lined with parchment paper. Beat another egg and use a pastry brush to apply an egg wash. This is optional but it gives the scones a nicer golden brown color!


The scones will need to bake for about 20-23 minutes until they have that beautiful golden brown color!
You’ll want to let the scones cool for 10-15 minutes. Place scones on a wire rack before adding the glaze if you choose to add it. 🙂
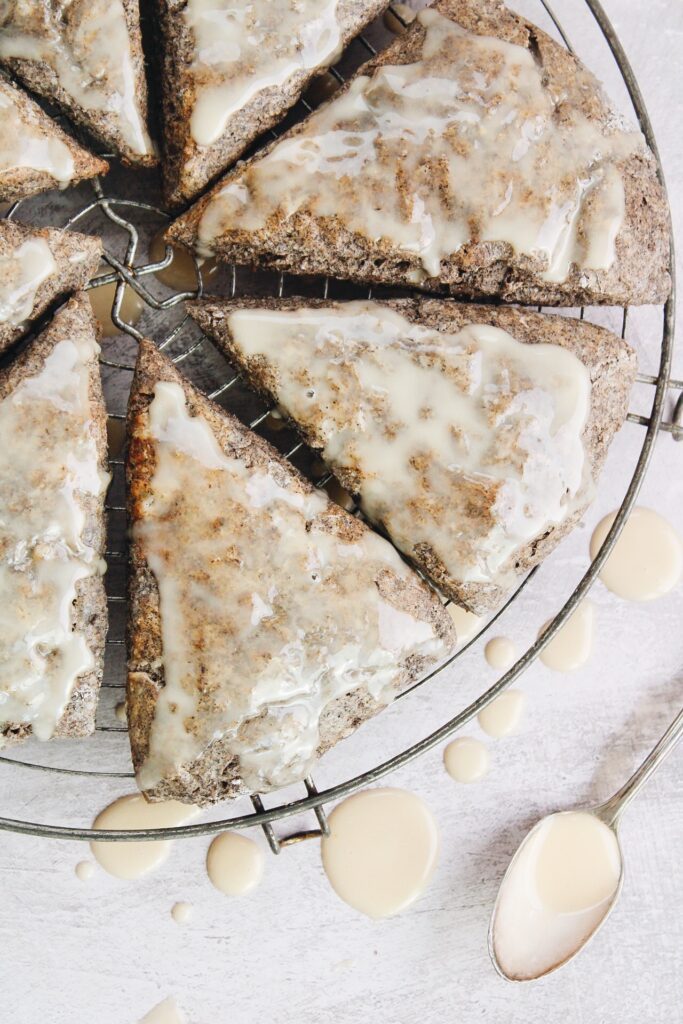
To make the glaze, simply combine powdered sugar, milk, vanilla extract and vanilla beans to a small bowl and whisk until smooth. A mini whisk works great for this!

Drizzle the icing over the tops of the scones using a whisk or a spoon. If you want a neater drizzle, you can add the icing to a Ziplock bag, snip off the corner (just a small portion), and pipe the icing onto the scones.
Storage Instructions
These scones are best enjoyed the day they are made, as they dry out quickly after cooling. But if you’d like to store leftover scones, allow them to cool to room temperature then place them in an airtight container. Store on the counter for 1-2 days or in the fridge for up to a week. You can also tightly wrap the scones in plastic wrap, as this keeps more air from drying out the scones.
More recipes for cherry season
Cherry Popsicles with Vanilla and Lime
Cherry Chocolate Chunk Cookies
Tried this recipe?
If you try this recipe, please leave a star rating below and let me know how it went. I’d love to hear from you!
You can also find me on Pinterest!

More tasty scone recipes

Cherry Scones with Dark Chocolate & Pistachios
If you’re looking for a fresh scone recipe, look no further than these tender cherry scones, studded with dried tart cherries, dark chocolate chunks and crunchy pistachios.
- Prep Time: 15
- Cook Time: 20
- Total Time: 35 minutes
- Yield: 6 scones 1x
- Category: breakfast
- Diet: Vegetarian
Ingredients
Scones
- 1 3/4 cup all purpose flour
- 2 tbsp sugar
- 2 1/2 tsp baking powder
- 1/2 tsp salt
- 6 tbsp butter, chilled and cut into slices
- 1/3 cup sour cream
- 1 egg (plus one more for optional egg wash)
- 4–6 tbsp milk
- 1/2 cup dried tart cherries
- 1/2 cup chopped dark chocolate or chocolate chips
- 1/3 cup chopped roasted/unsalted pistachios
Icing
- 2/3 cup powdered sugar
- 2 tbsp milk
- 1/2 tsp vanilla extract
- 1 vanilla bean pod
Instructions
- Preheat oven to 400F.
- Whisk the all-purpose flour, baking powder, salt and sugar in a large mixing bowl and set aside.
- Add the cold butter to the flour mixture and use a pastry blender to cut the butter into the flour until pea-sized lumps form.
- In a large measuring cup, whisk one egg, sour cream and 4 tbsp milk until combined. Add this to the mixing bowl with the flour mixture.
- Gently mix in the egg and milk with a fork or a dough whisk until a more cohesive dough begins to form. Stir in the dried cherries, chocolate and pistachios.It will still be crumbly but if it seems super dry, you can add up to 2 tbsp more milk.
- Once the mix-ins are incorporated, turn the dough out onto a lightly floured surface. Try to keep the driest, crumbliest bits on top. Press down with both hands onto the mound of dough and press inward from around the edges.
- Start to knead the dough. It will be crumbly at first and your won’t be able to get clean folds but keep folding over what you can, press down and repeat until a smooth dough forms.
- Press the dough into a rectangle, approximately 10 x 7 inches and about 1/2 inch thick. Cut into 6 squares and transfer the scones to a parchment-lined baking sheet.
- Beat an egg and use a pastry brush to apply an even coat to each scone. Bake for 20-23 minutes, until golden brown.
- Transfer to a cooling rack and allow them to cool for 15 minutes before adding the glaze, if using.
- To make the glaze, combine powdered sugar, milk, vanilla extract and vanilla beans in a small bowl and whisk until smooth.
- Drizzle the icing over the tops of each scone using the whisk or a spoon. If you want a neater drizzle you can add the icing to a a ziplock bag and snip off the corner (just a small portion) and pipe the icing onto the scones.
- Scones are best enjoyed at room temperature.
Notes
Sour cream – you can sub full-fat plain yogurt for sour cream.
Milk – I use whole milk, 2% or heavy cream are also fine. If you use heavy cream, you will likely need to add the extra 2 tbsp to make it less dry.


